Iris Keyboard Build
I made my first keyboard. I’m super happy with how it turned out. The number of options for keys, switches, plates, cables, etc was a bit overwhelming, but I think it sounds, feels, and looks great. My previous daily driver at home, also my first mechanical keyboard, was a Vortex Racer 3 with MX Cherry Browns. A keyboard I enjoy a lot, but making a new one sounded like a fun project. My goal was to build a quiet ergonomic keyboard. I also wanted to put to use a soldering kit I had recently got to fix a pair of headphones before it collected too much dust.
Parts
- Iris Rev 4, FR4 Plates, and TRRS Cable from Keebio
- Rosélios Switches, Krytox 205g0 and Switch Opener from Divinikey
- DSA PBT Blank Keyset (otholinear base set + modifier set) from Signature Plastics
- Deskeys Gasket Switch Films from Ashkeebs
- Custom Cable from Badger Cables
I landed on the Iris keyboard for a couple of reasons. For my new keyboard, I was looking for a 60% or 40% layout. The 75% layout of the Racer 3 mirrored my laptop’s keyboard nicely and that made it easy to switch between the two. That said, the function row was rarely used and I also reach for the escape key a lot while programming and it was a little farther from the home row than I’d like. I’ve also been interested in trying a split keyboard so I can feel like I’m piloting a spaceship while I work. With that in mind, I gravitated towards the Iris and the Corne keyboards. Both are ortholinear split keyboards, the Corne with a 40% layout and the Iris with 60%. I end up going with the Iris mostly because people online suggested it would be the easiest of the two to put together for those without much soldering experience. The Iris keyboard is also named after the goddess of the rainbow so bonus points go to the Iris.
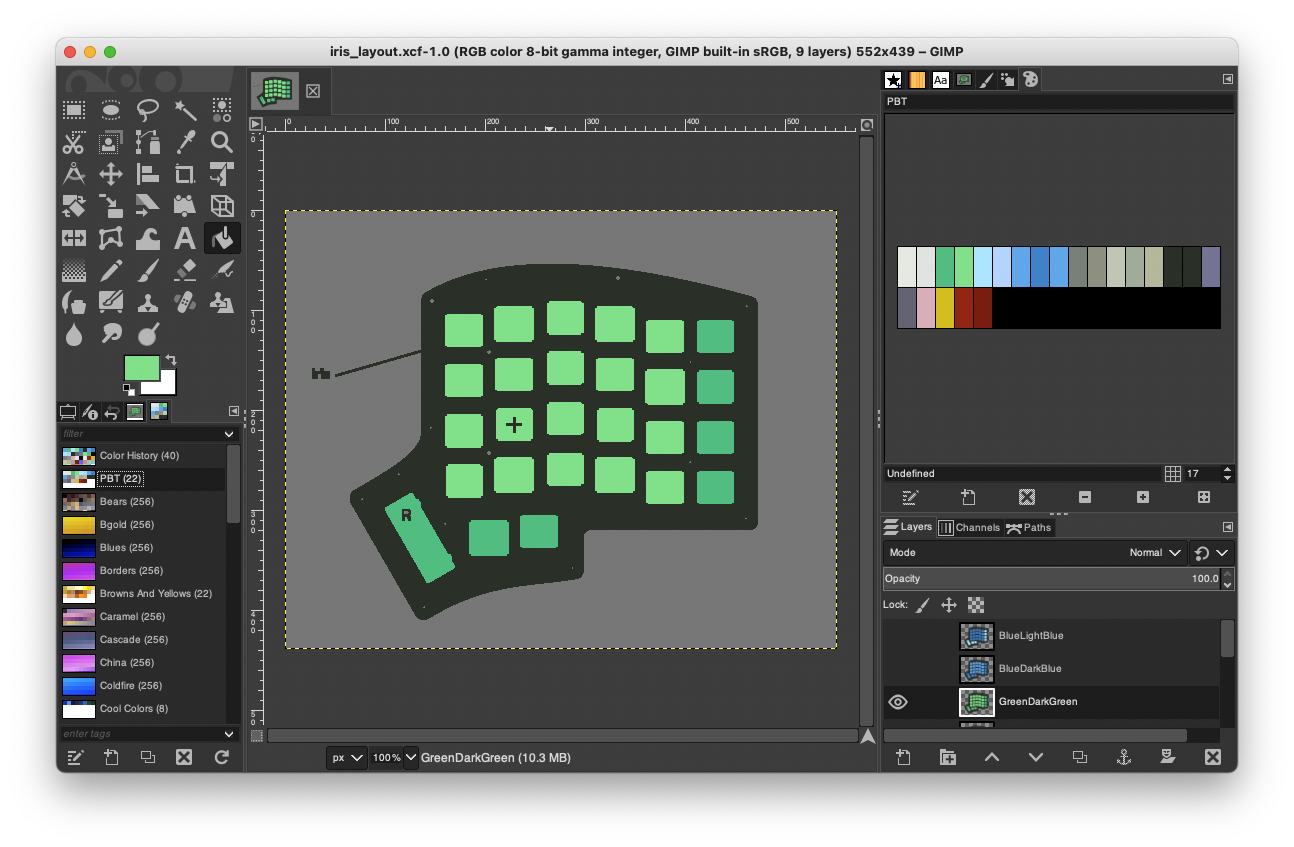
GIMP helped me get a better sense of what the keyboard would look like with different colored keycaps. I copied an image of the Iris layout from this site. I then created a color palette with all the different options Signature Plastics had for their blank DSA PBT keycaps. This let me mockup a bunch of different combinations.
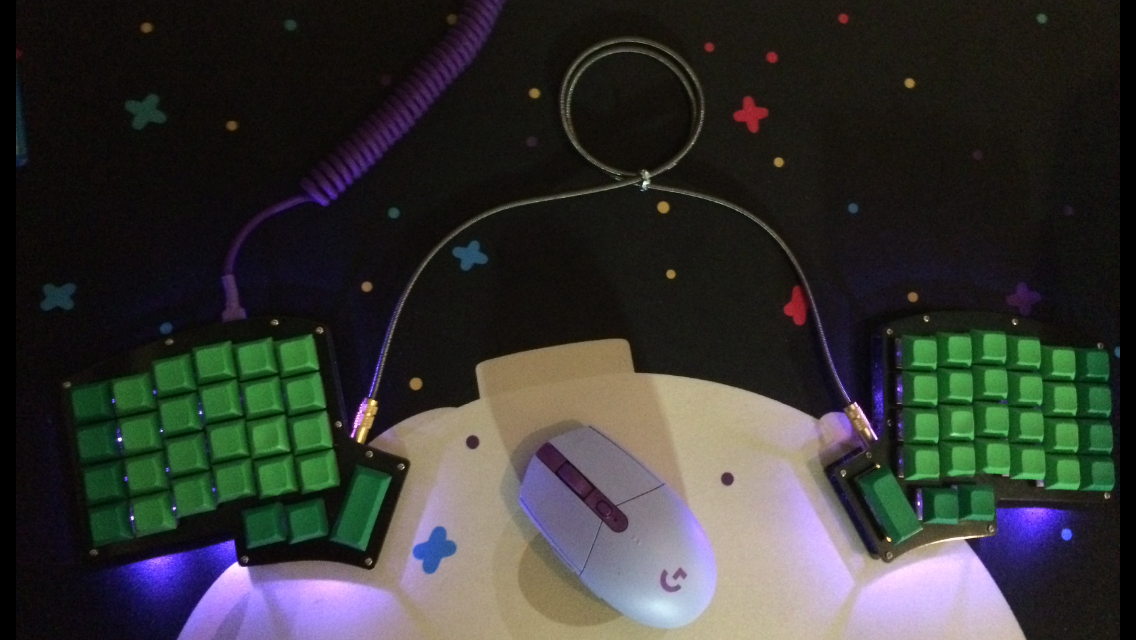
 Cosmic greenery vibes with lots of green to compliment the purple on my desk.
For the keyboards switches, I went with Rosélios, a 67g silent linear switch. The MX Cherry Brown switches on my other keyboard feel good, but I wanted a quieter switch. I have also never tried linear switches, so why not. The MX Cherry Brown actuation force is 55 centinewtons, a degree of measurement I had never thought about before. The conversion from 55 centinewtons to gram-force works out to ~56g. The 67g actuation force of the Rosélios is noticeably more. I’ve mostly gotten used to the extra resistance by now, but it was common for me to only half-press keys at first. I would be curious to try the 62g Sakurio variant, but for my next build, I might try a silent tactile switch.
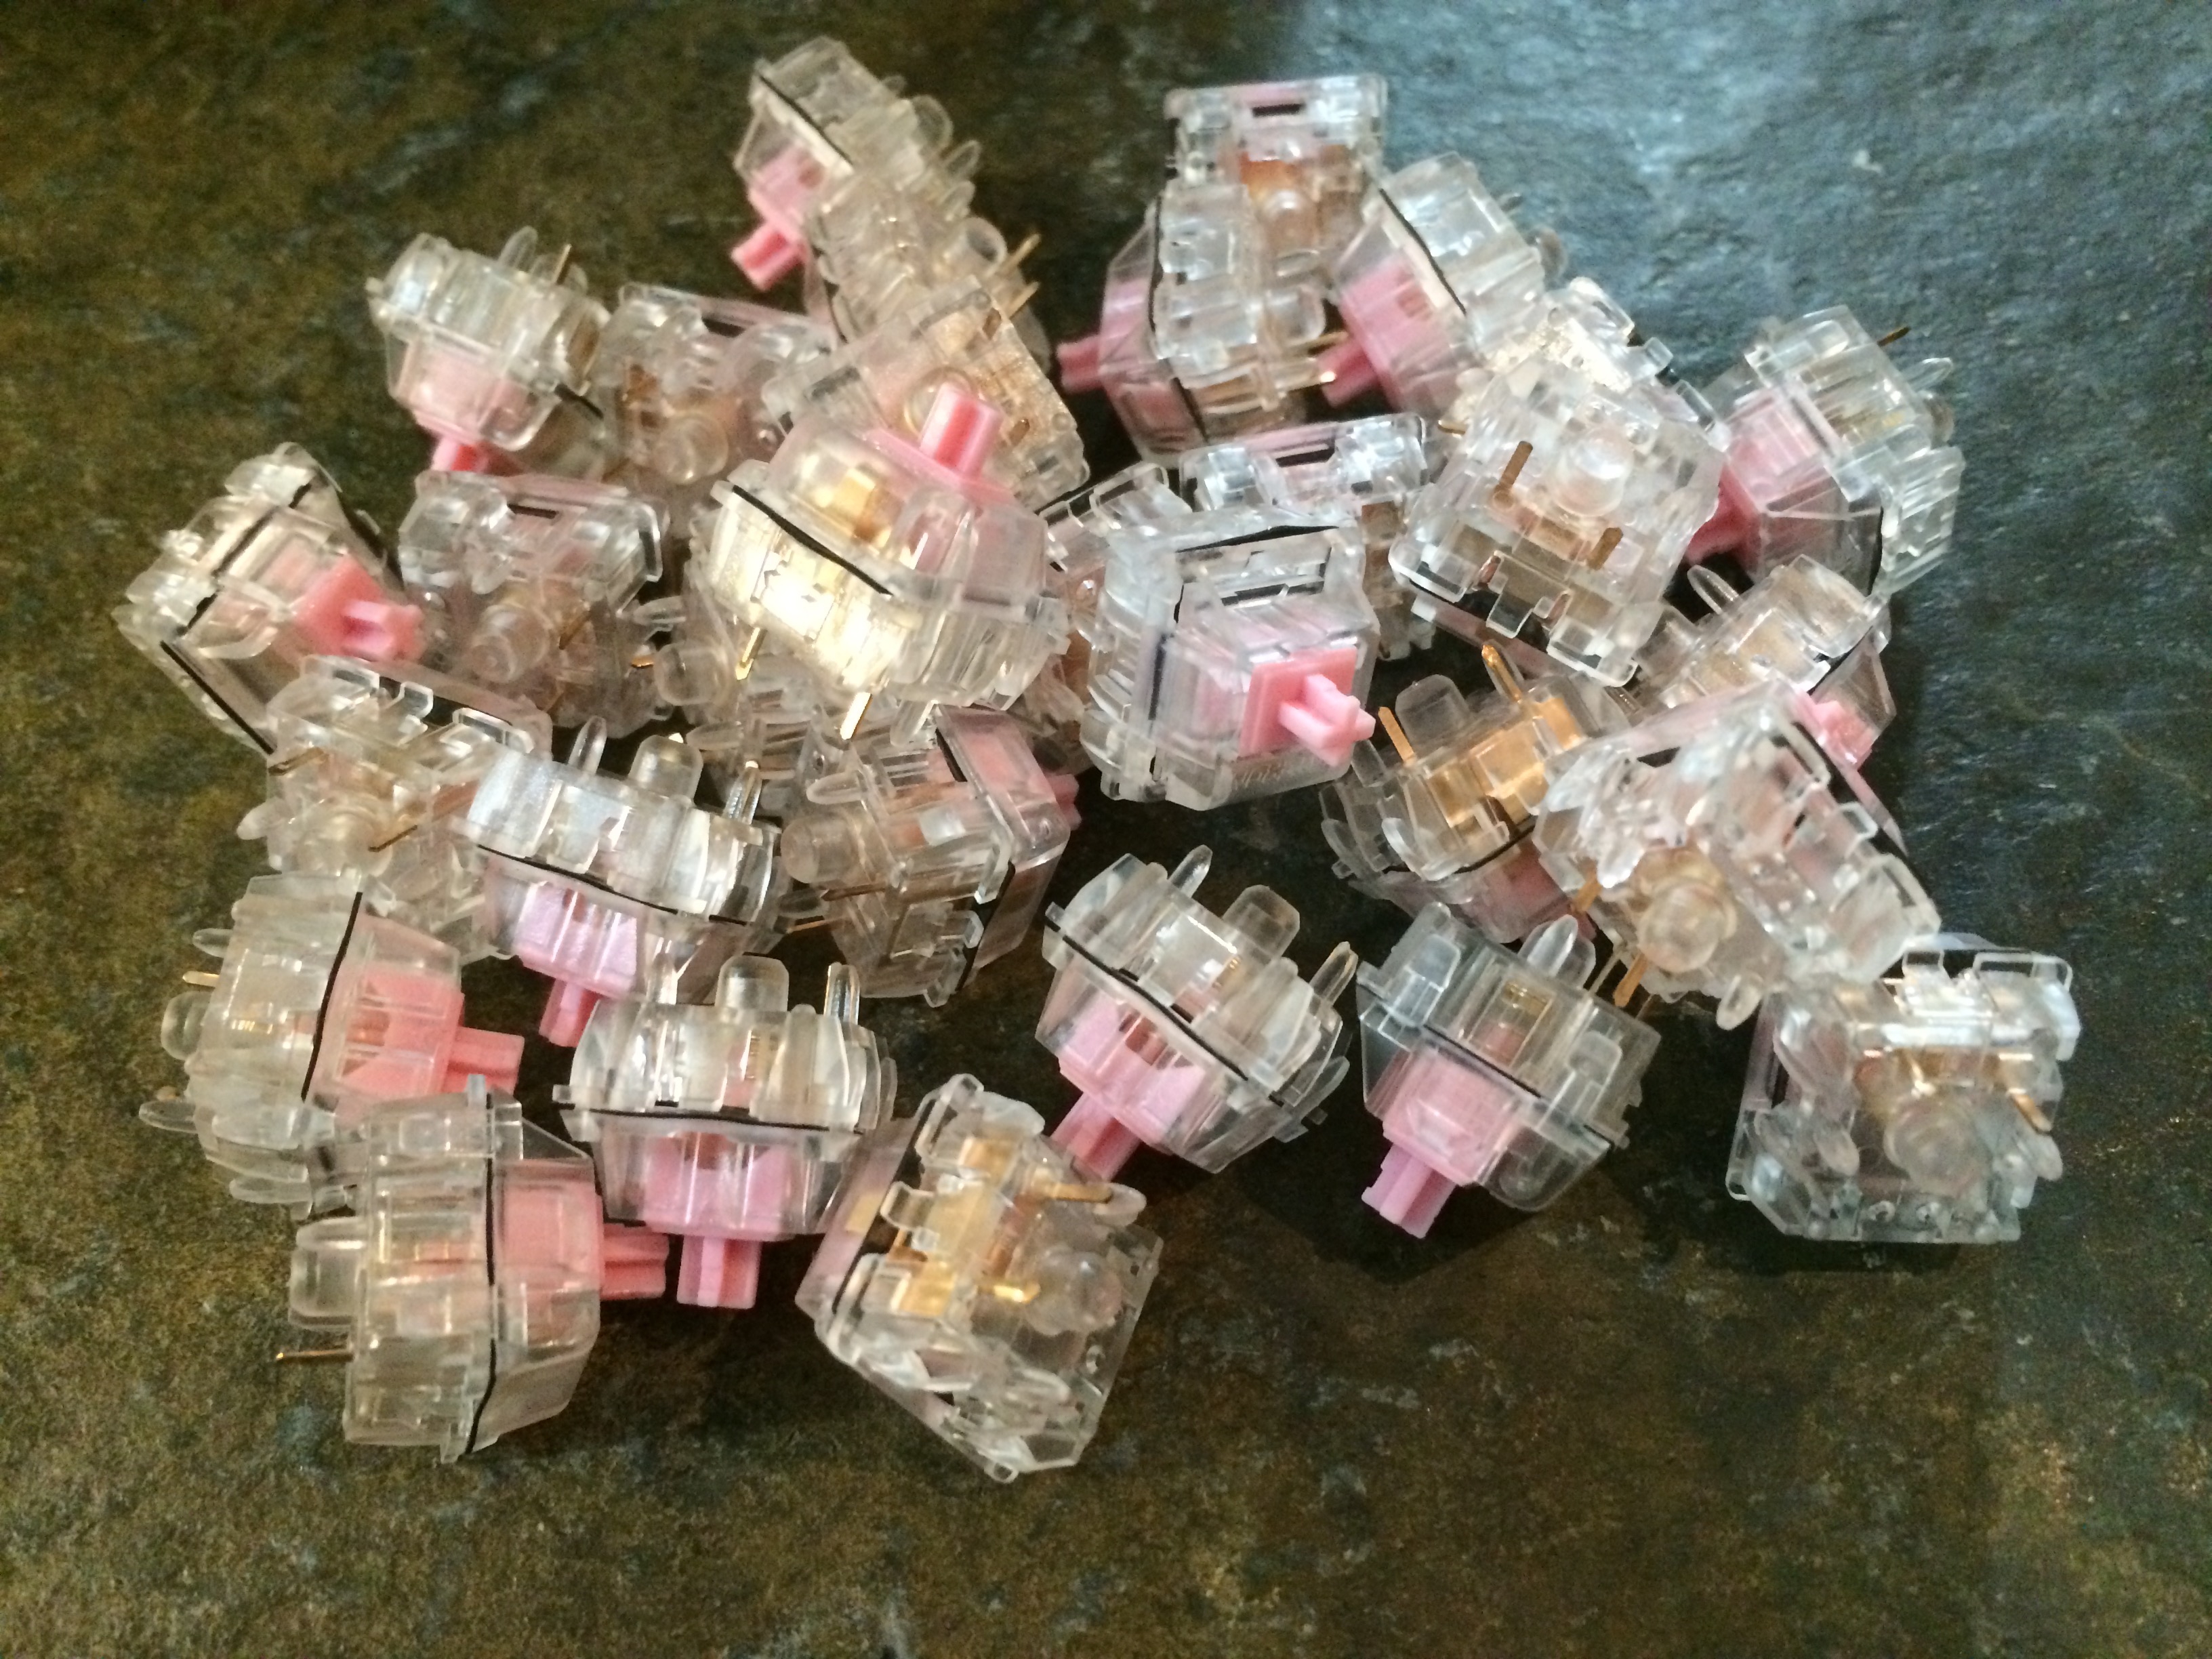 Rosélios switches with Deskeys Gasket films.
For the full experience and in pursuit of superb sound and feel, I lubed my switches. After looking things up online, I went with Krytox 205g0 lube. For a complete beginner, opening and lubing each switch was a lengthy process and I was glad the Iris is 60% the size of a full keyboard. I was unsure about buying a switch opener, but it saved me so much time. The best alternative would probably be a flat screwdriver. Luckily my order of switches and lube arrived before everything else so I had plenty of time before I could even put the rest of it together.
Opening up the switches to apply lube often loosened the switch housing. The looser housing sometimes created a wobbly rattle noise that I wasn’t sure how to fix at first. Unfortunately, I only learned about switch films until after I had soldered the right side of my keyboard. Inserting switch films between the upper and lower housing fixed the wobbly rattling completely.
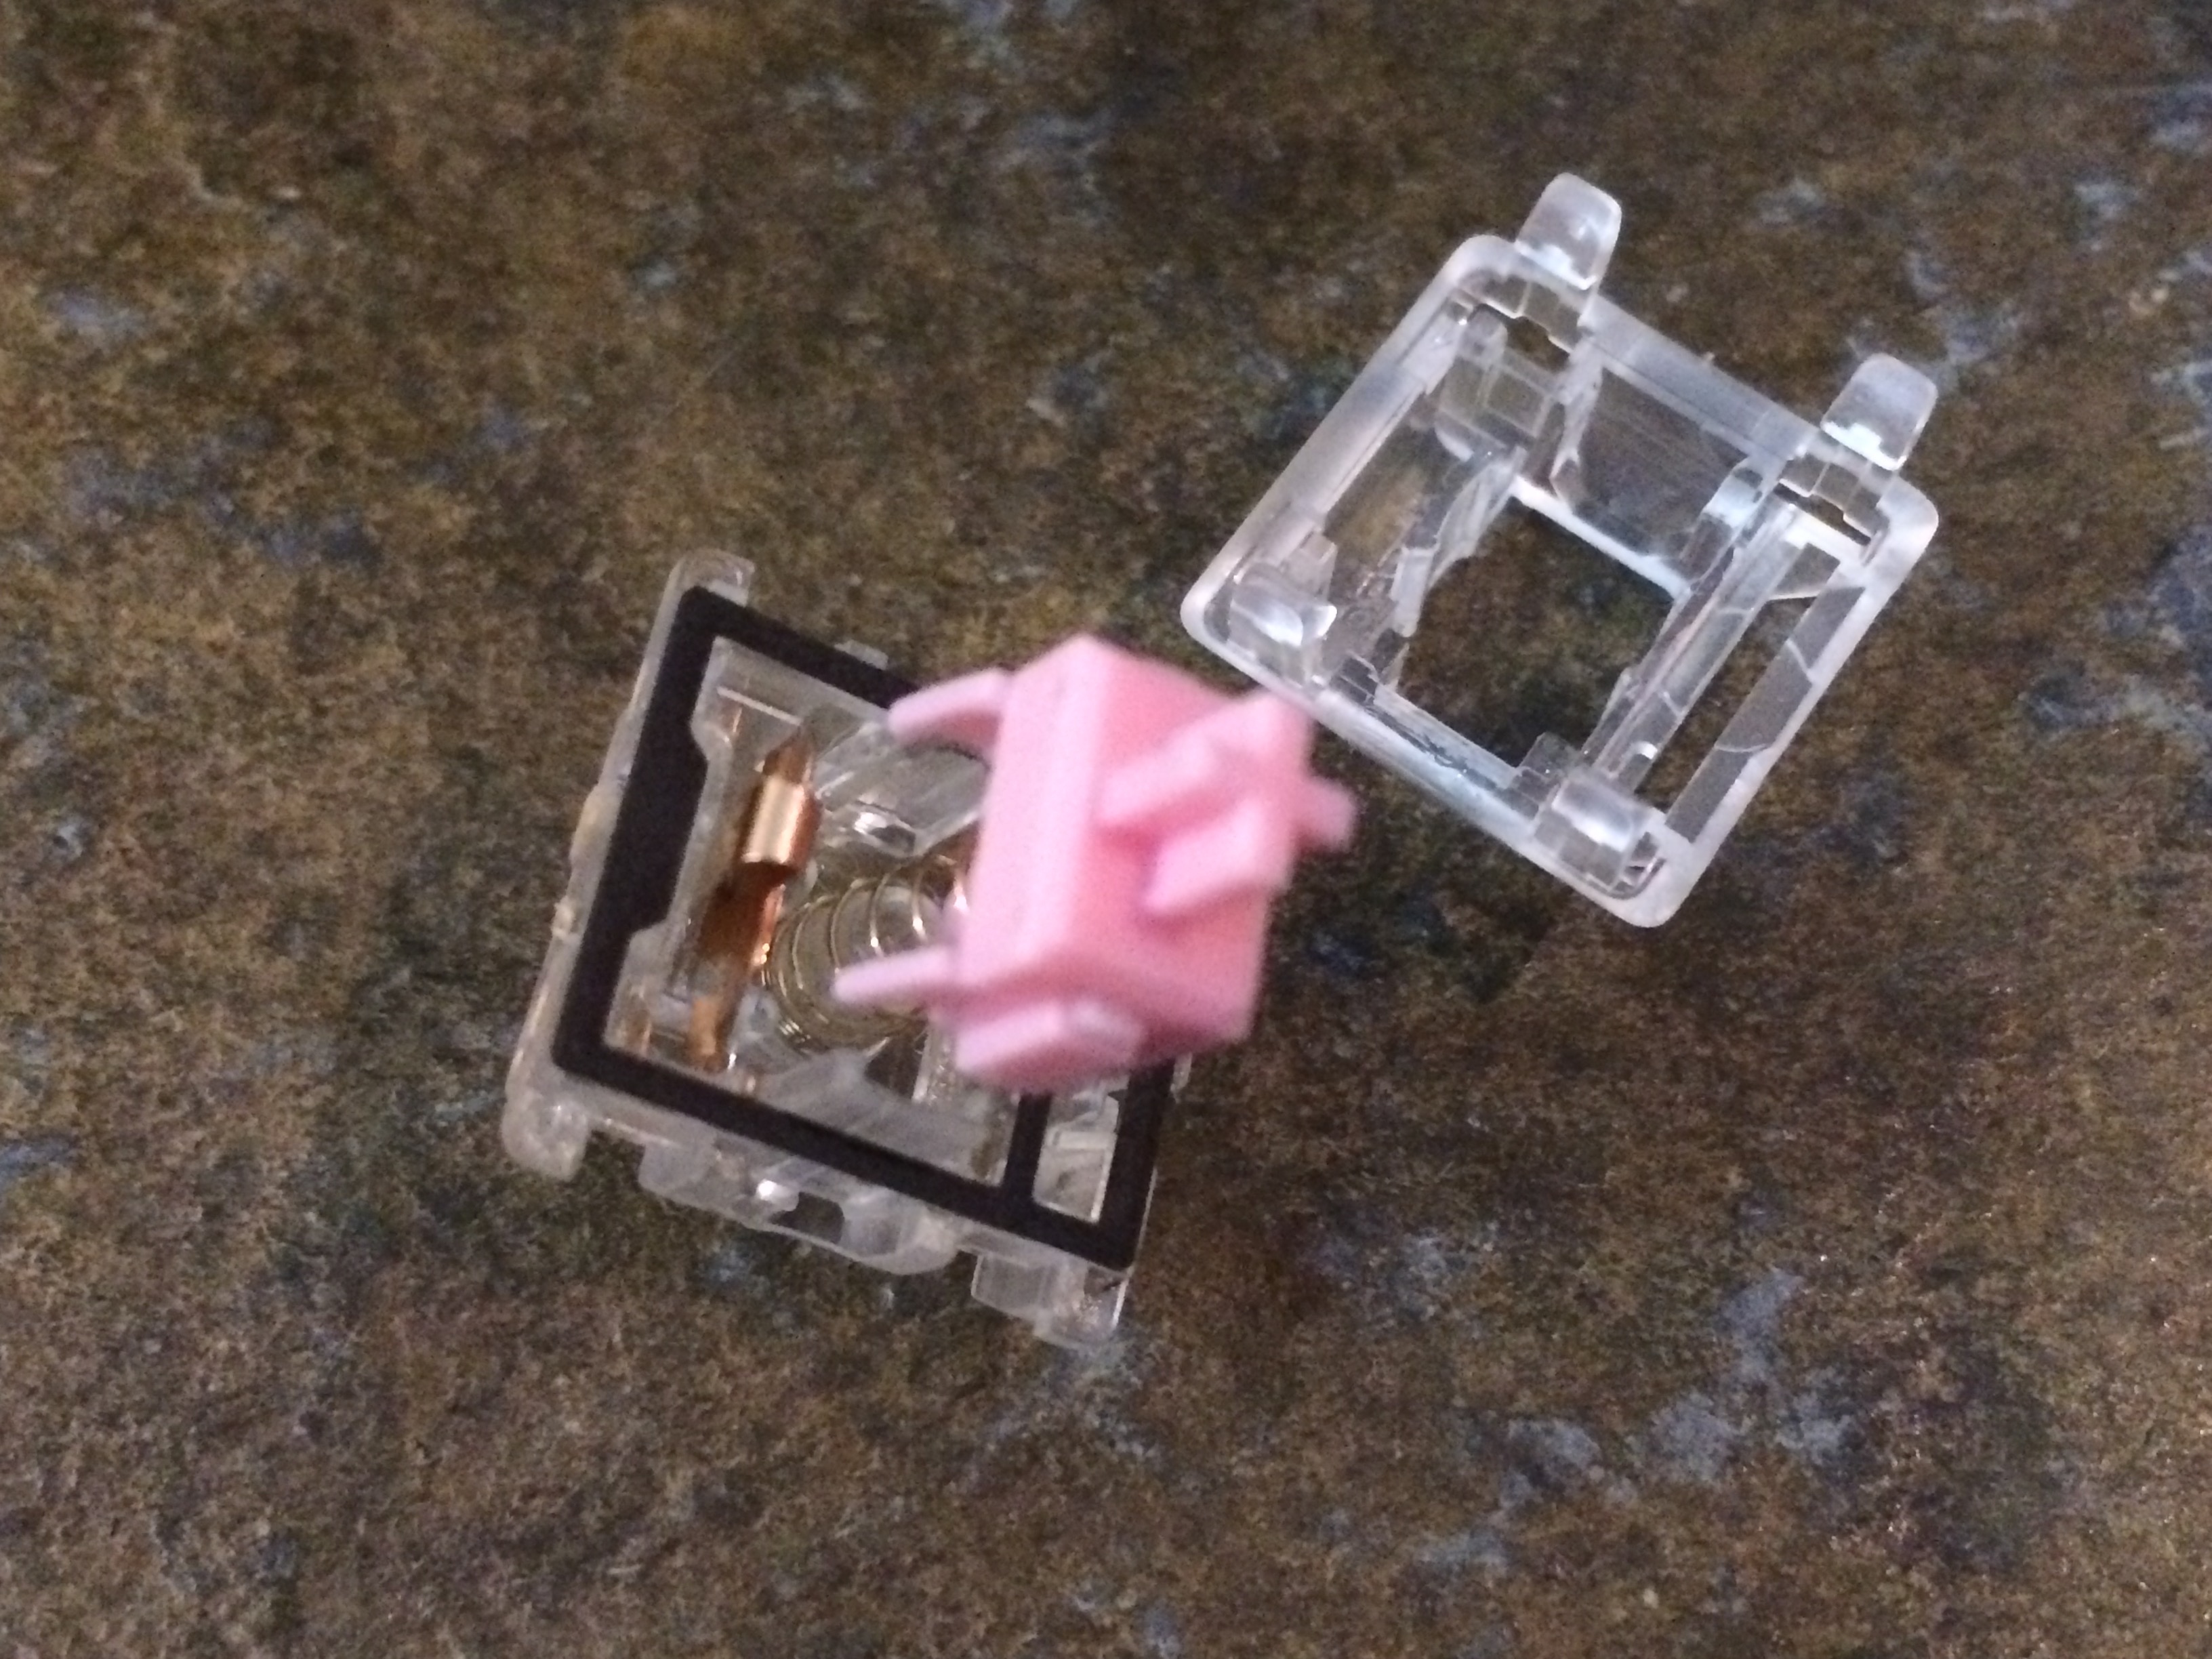 0.3mm film to the rescue. They eliminated all wobble <3
My attempt to desolder the right side so I could add films to those switches did not go well. A combination of my soldering inexperience and my super cheap solder sucker is probably to blame. For now, the left half of the keyboard has films and the right side doesn’t. I plan to revisit the right side someday, but I’m too afraid I’ll damage the PCB in the process after my first attempt.
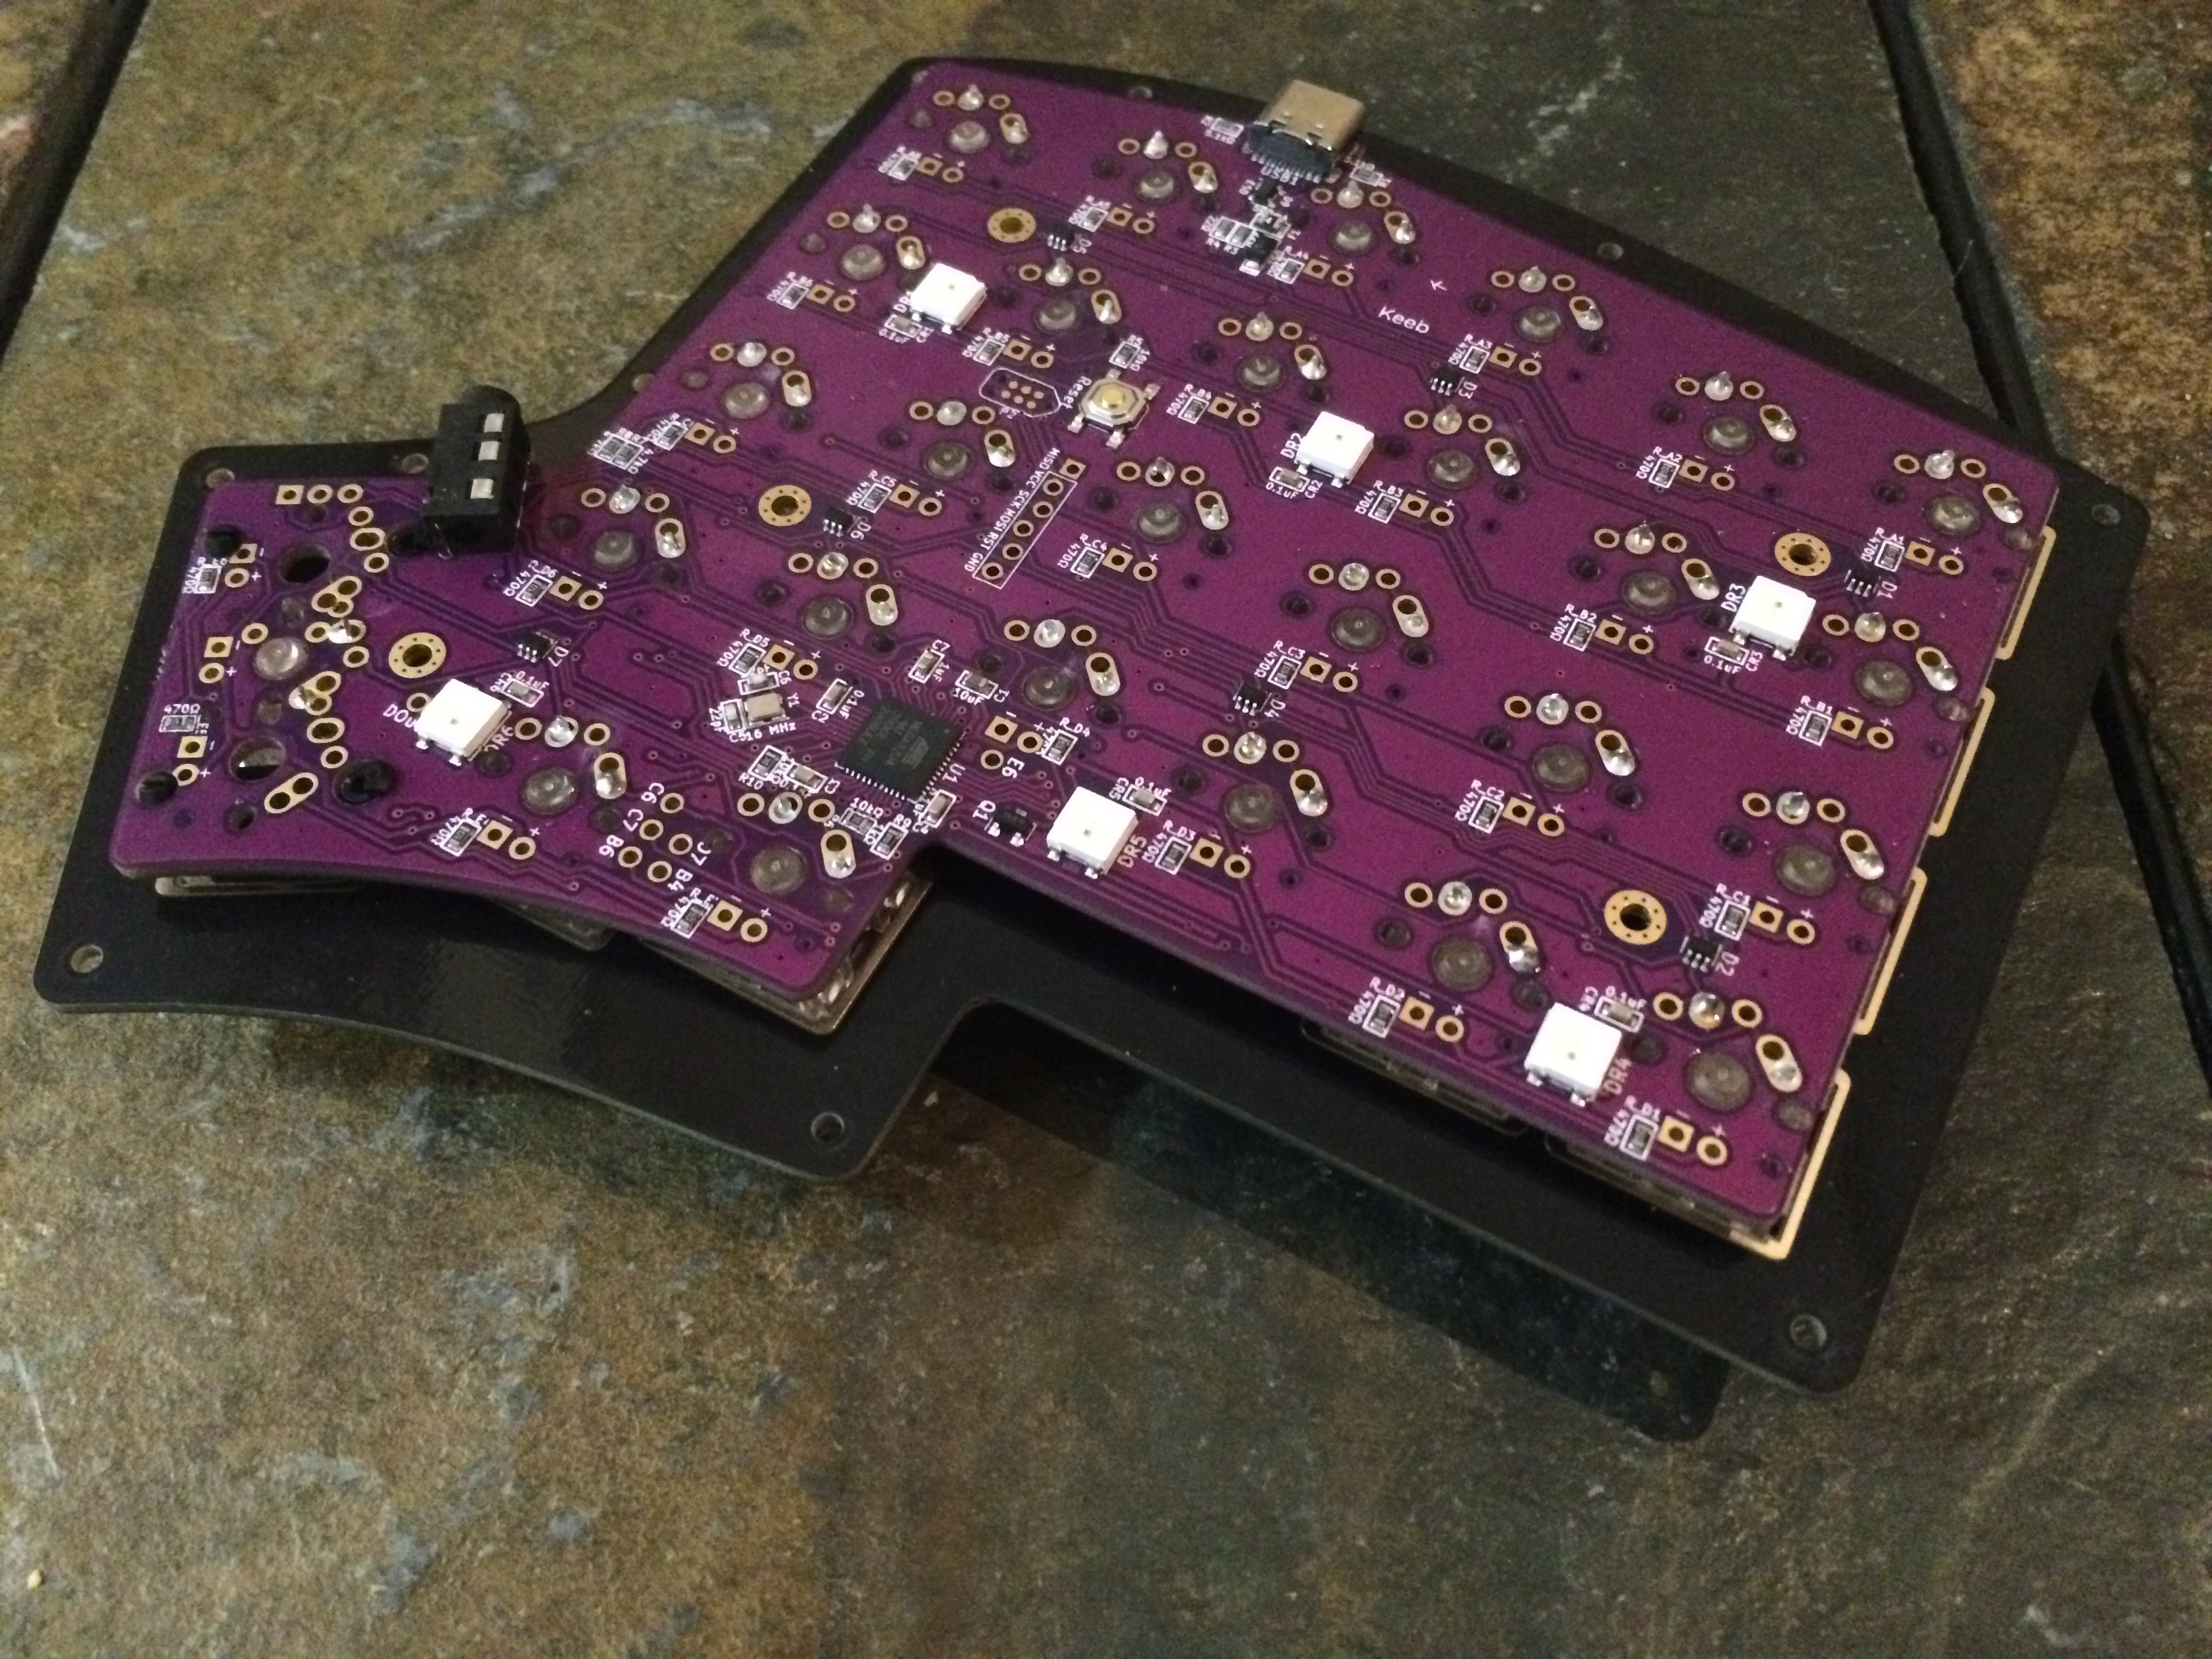 Switches all soldered on.
I followed the handy keebio build guide while assembling the keyboard and I didn’t encounter any problems. I think the ease of soldering on the switches gave me a false sense of confidence that it would be just as easy to de-solder any switches. The VIA key tester was useful for confirming that all the keys worked and that my attempt to de-solder didn’t do any serious damage.
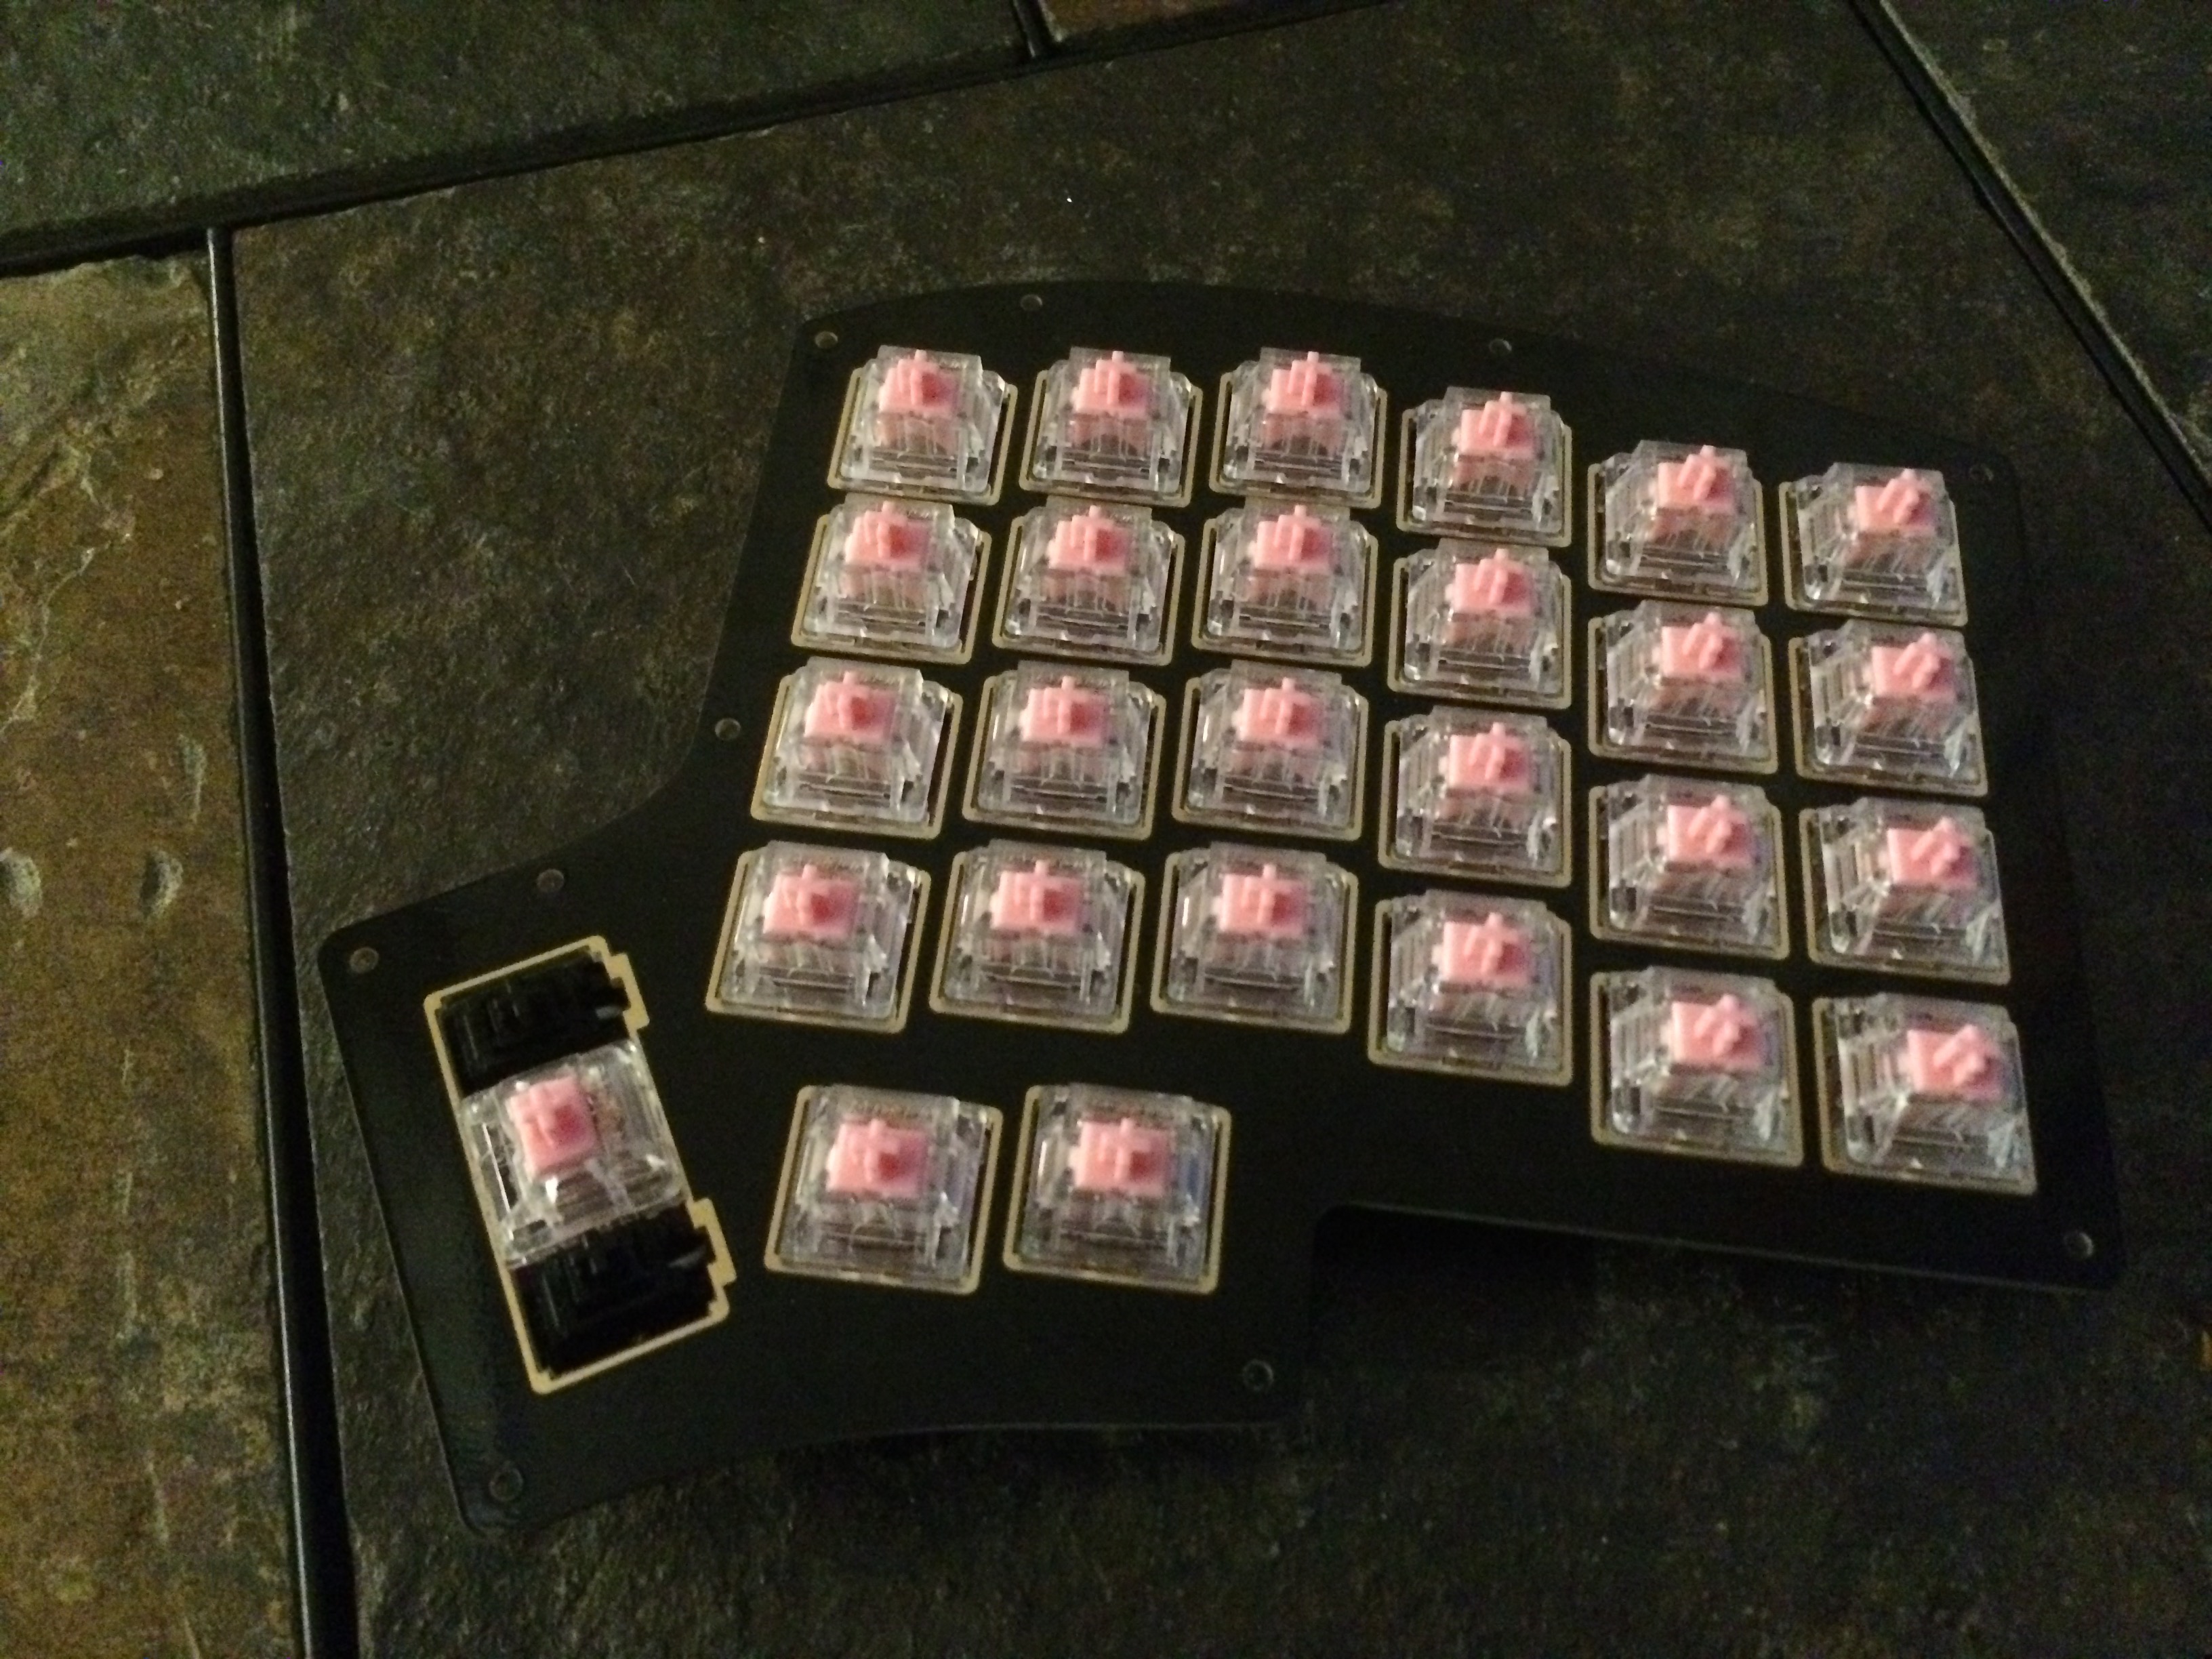 Ready for some keycaps.
VIA also made remapping keys so easy. I haven’t made too many changes yet, but I did switch the space bar from the right side to the left so that I can remove the entire right side when I play games to give myself more mouse space and still have a jump button.
I’ve been using my Iris keyboard every day for a couple of months and it would be hard to go back. Not just because it’s a lot of fun to type on, but I’m now wicked clumsy when I use a keyboard with a staggered layout and no layers or thumb row. I’m working from home full-time at the moment, but I look forward to making another for the office when the time comes to return.
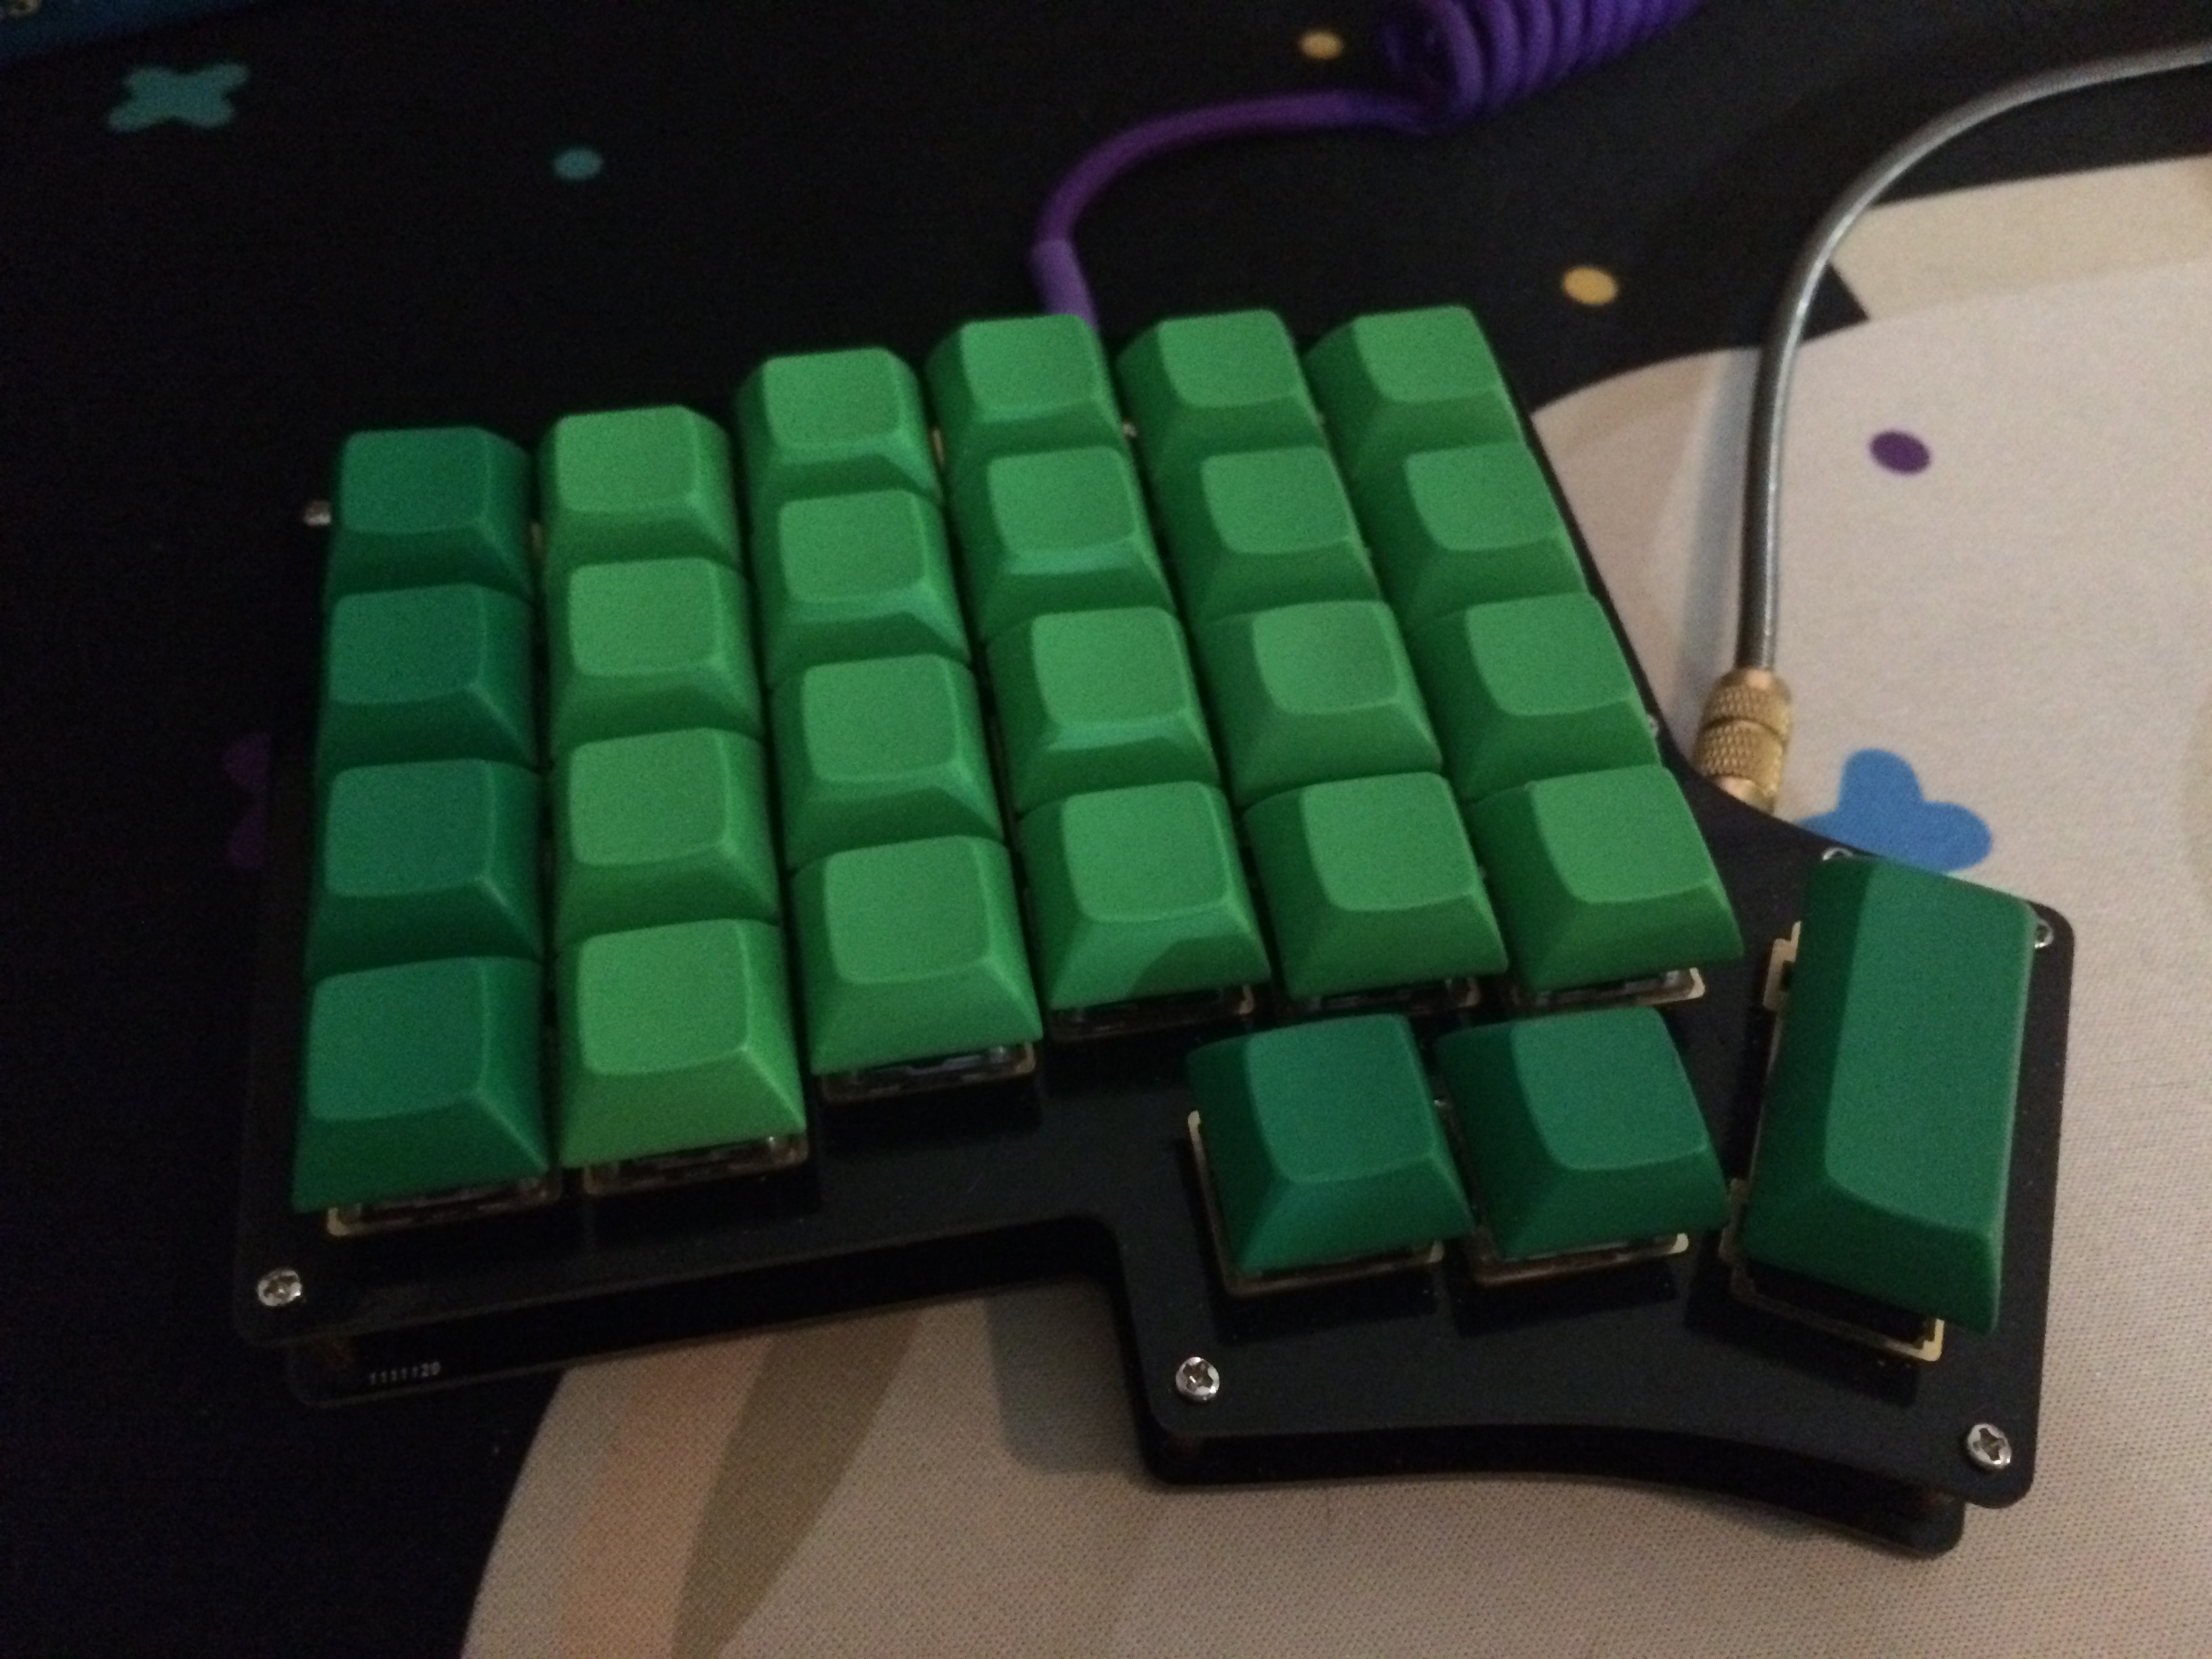 Pretty stoked to press these keys :)